Previewing Pages
The central canvas provides different views of the page layout. The Preview option compliments these views, and can be opened from the toolbar button or the Test | Preview menu entry. This provides a preview of what the page may look like. The key difference between the various design views and the Preview is that the Preview option also executes the Javascript, providing a much closer resemblance of what the final page may look like. You can use the Edit | Preferences menu option screen to configure how the Preview should open, and what should happen if you click the Preview button again when you already have it open.
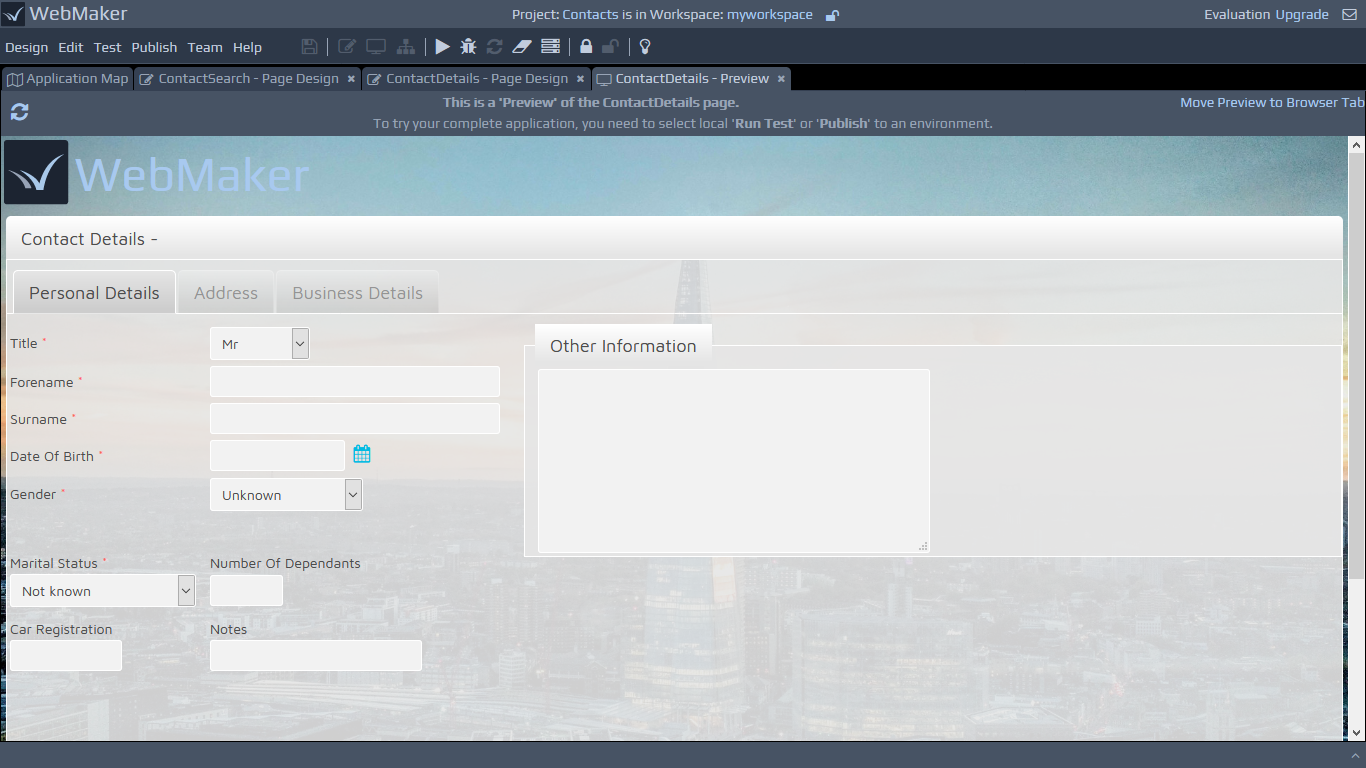
The Preview page has a highlighted bar to make it clear that it is the preview page rather than a running application. This bar has a link that can be used to remove the Preview Frame. This can be useful if you want to use Browser developer tools to debug CSS or JavaScript.
 By default, the Preview is set to automatically update itself when you save changes to the Page Design or any included CSS or JavaScript files. You should find that as soon as you switch back to an open Preview tab it updates to show the latest content. If you edit CSS or script files in an external editor however (or if you turn off this automatic update in the Edit | Preferences menu option), then there is a refresh button provided at the left of the Preview header bar that can be used to update the displayed content.
The Preview process works by creating an example HTML for each page using the data provided by the INPUT data to page XML document structure defined on the Bindings Tab of the Page Design screen. Therefore, if you want to change the data shown on the Preview, you can simply edit the contents of this document and then Save the Page Design (we will cover data bindings in more detail later). These preview HTML pages are then saved into the
By default, the Preview is set to automatically update itself when you save changes to the Page Design or any included CSS or JavaScript files. You should find that as soon as you switch back to an open Preview tab it updates to show the latest content. If you edit CSS or script files in an external editor however (or if you turn off this automatic update in the Edit | Preferences menu option), then there is a refresh button provided at the left of the Preview header bar that can be used to update the displayed content.
The Preview process works by creating an example HTML for each page using the data provided by the INPUT data to page XML document structure defined on the Bindings Tab of the Page Design screen. Therefore, if you want to change the data shown on the Preview, you can simply edit the contents of this document and then Save the Page Design (we will cover data bindings in more detail later). These preview HTML pages are then saved into the webappdirectory for your project, to enable them to correctly reference all required resources, such as CSS, JavaScript, and image files. A couple of settings under Design | Project Settings | Advanced enable you to determine the location of these directories. In most cases you will not need to adjust these values, but for more advanced scenarios (such as using the same webapp resources for multiple projects) they can be changed as needed. The Preview Location box should contain the file-system location for the
webappdirectory, e.g.
${user-data-location}\{workspace}\mvc\{project}\webapp. The Preview URL box should be used to provide the URL that Page Designer should use to access the web application, e.g.
${user-preview-url}/{workspace}/mvc/{project}/webapp.
Exporting Pages
You can export your pages as HTML, together with related resources such as CSS files, scripts, images, etc., by using the Publish | Export Web App Resources menu item. You can host these pages and related resources on the server technology of your choice, enabling you to publish WebMaker client apps without the need for a server footprint.
If you are developing complete web apps and dealing with server controllers, you can learn more about the extensive Testing and Publication features that are available in Webmaker in later sections.