Contents
Please note: You do not have to install the Team Server to start using WebMaker. You can simply install WebMaker and create and deploy applications, and use the local source control features. You only need to install and configure the Team Server when you want to control projects across different members of your team.
The Team Server can be installed on existing Apache Tomcat 7 installations. If you need to install the Team Server on a different web server, please consult the WebMaker Forum or contact us for further assistance.
The Team Server installer uses Java and requires Administrator credentials to complete installation. If you receive a User Access Control prompt, you should answer Yes
to the questions, to enable Java to execute.
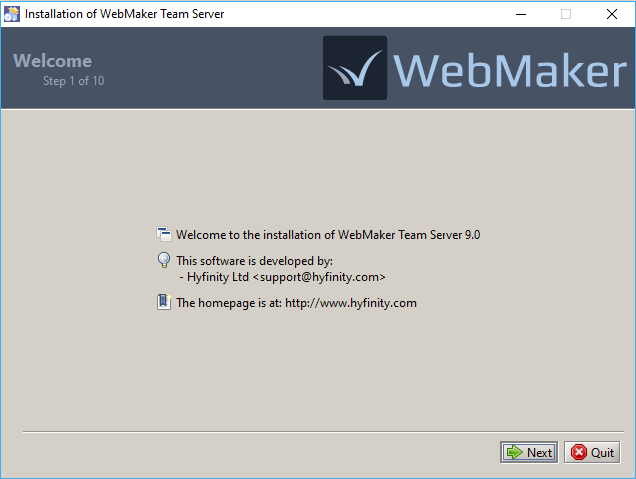
The first screen contains some welcome information. You can simply click Next.
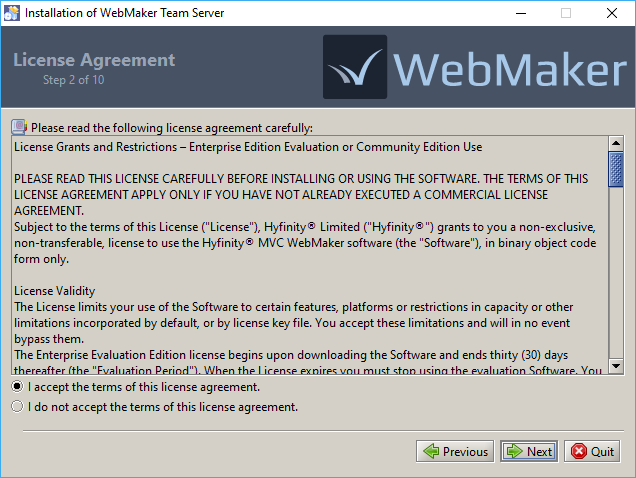
 You should see the License information in the next step. You need to accept the terms to proceed further.
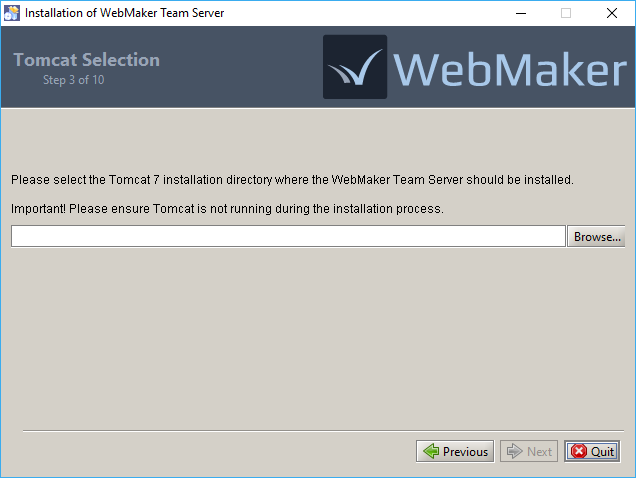
 In the next step, you need to select the location of the Tomcat installation that will contain the Team Server. You should select the root directory of the Tomcat installation, i.e. the directory that contains 'bin', 'conf', 'lib', 'webapps', etc. The Tomcat server should be shutdown before initiating the Team Server installation.
If this Tomcat installation contains an existing Team Server installation you will be given the option to Keep existing projects. If this option is selected, all projects contained in the existing installation will be retained for the new installation. Otherwise, these projects will be lost.
In the next step, you need to select the location of the Tomcat installation that will contain the Team Server. You should select the root directory of the Tomcat installation, i.e. the directory that contains 'bin', 'conf', 'lib', 'webapps', etc. The Tomcat server should be shutdown before initiating the Team Server installation.
If this Tomcat installation contains an existing Team Server installation you will be given the option to Keep existing projects. If this option is selected, all projects contained in the existing installation will be retained for the new installation. Otherwise, these projects will be lost.
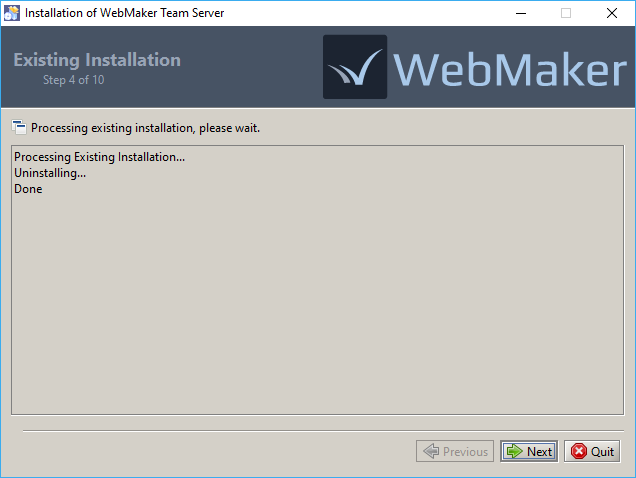
 If your chosen Tomcat location already contains a Team Server installation, you should now see this next screen. The existing installation will be removed and, if requested, existing projects will be backed up.
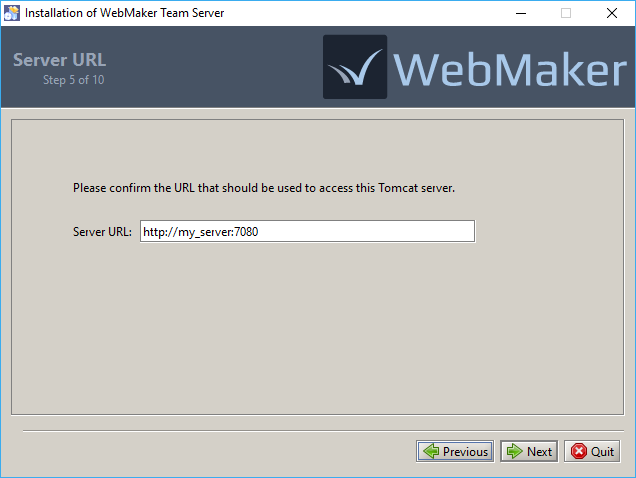
 You now need to confirm the URL that should be used to access the selected Tomcat server. The installer will attempt to determine this value automatically, but you can adjust it as required for your environment.
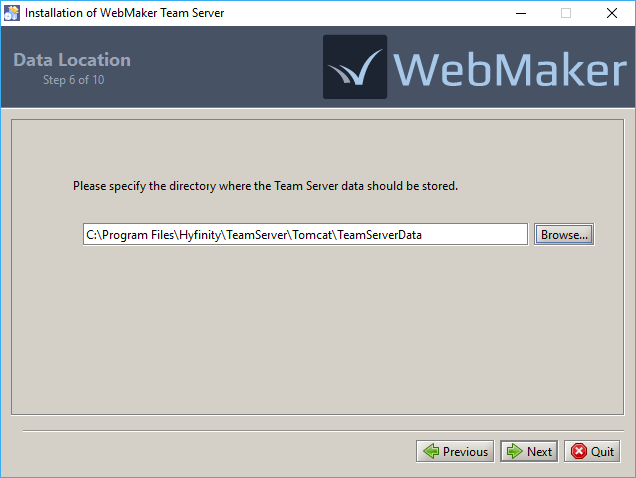
 The next step is to indicate the directory, where the Team Server data should be stored. This will default to a 'TeamServerData' directory being placed within the Tomcat location, but you can adjust this as required.
The specified directory will contain all projects shared on this Team Server, including the project specifications, version history, and user access information. Ideally, this directory should be backed up regularly to prevent possible loss of data.
The next step is to indicate the directory, where the Team Server data should be stored. This will default to a 'TeamServerData' directory being placed within the Tomcat location, but you can adjust this as required.
The specified directory will contain all projects shared on this Team Server, including the project specifications, version history, and user access information. Ideally, this directory should be backed up regularly to prevent possible loss of data.
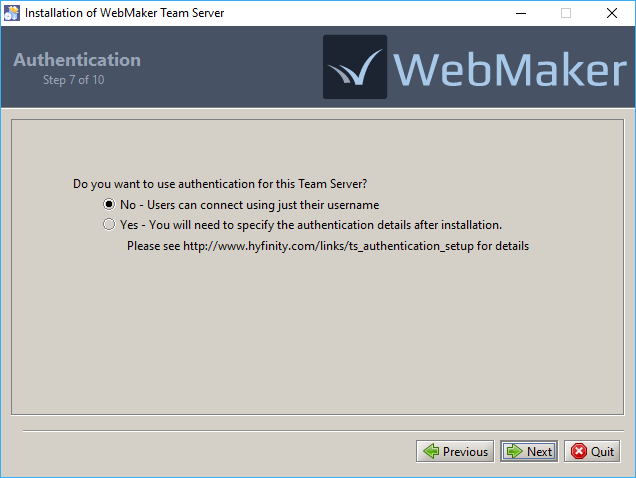
 The final step requires a decision on whether to enable authentication for this Team Server. If you choose not to (the default) then users can connect to the Team Server by just specifying their username. Alternatively, you can enable authentication, which requires some manual configuration after installation. Please see the next section for more details.
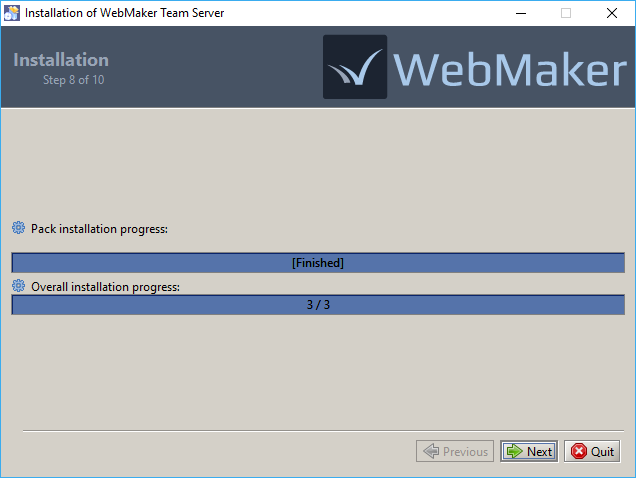
 At this point the files for the Team Server will be installed.
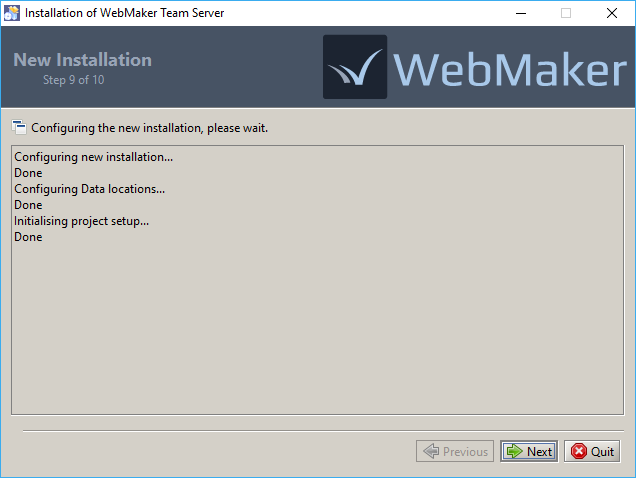
 The new installation will now be configured and, if you chose to keep the projects from an existing installation, they will now be imported into the new installation.
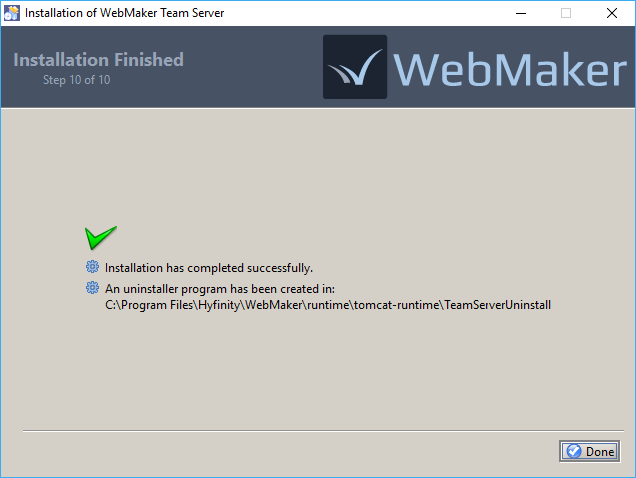
 The final screen should confirm the successful installation, and provide the location of an uninstaller that can be used to remove the Team Server at a later date.
The installation is now complete, and you should be able to startup the Tomcat Server and connect to the Team Server from the WebMaker Studio.
The final screen should confirm the successful installation, and provide the location of an uninstaller that can be used to remove the Team Server at a later date.
The installation is now complete, and you should be able to startup the Tomcat Server and connect to the Team Server from the WebMaker Studio.
 The Team Server makes use of the CAS authentication service to provide user authentication processing. This supports a wide variety of options for authenticating users, including database or LDAP lookups.
When you install the Team Server you can decide whether to use authentication or not. If you decide to use authentication, an additional web application (wmtsauth) will be installed on the target Tomcat server. This is a CAS v4.0 installation, which contains a number of configuration files that may need to be adjusted depending on the authentication approach that is required.
If you need further assistance on any of the areas discussed below please use the WebMaker Forum to post your queries.
The Team Server makes use of the CAS authentication service to provide user authentication processing. This supports a wide variety of options for authenticating users, including database or LDAP lookups.
When you install the Team Server you can decide whether to use authentication or not. If you decide to use authentication, an additional web application (wmtsauth) will be installed on the target Tomcat server. This is a CAS v4.0 installation, which contains a number of configuration files that may need to be adjusted depending on the authentication approach that is required.
If you need further assistance on any of the areas discussed below please use the WebMaker Forum to post your queries.
Configuring for HTTPS
The default Team Server installation is configured, allowing authentication calls to be made over a non secure HTTP connection. This may be fine if the Team Server will only be used by a trusted group of people within a private secure network, but you may wish to enforce the use of HTTPS for all authentication calls.
To inform CAS to only allow HTTPS connections, you need to make the following changes to the configuration file:
Update the wmtsauth/WEB-INF/spring-collection/ticketGrantingTicketCookieGenerator.xml file to set the P:cookieSecure attribute to true
Update the wmtsauth/WEB-INF/spring-collection/warnCookieGenerator.xml file to set the P:cookieSecure attribute to true
Update the wmtsauth/WEB-INF/deployerConfigContext.xml file to set the p:requireSecure attribute to true on the proxyAuthenticationHandler bean
Update the wmtsauth/WEB-INF/deployerConfigContext.xml file to change the registeredServicesList p:serviceId regular expression attribute to ensure it only allows https URLs
You then need to update the auth-service-location system property for the Team Server to ensure it specifies the https based URL. These system properties are stored in the SystemProperties table in the Team Server database. See the section below for details on how to access and modify this database.
If you are using a self-signed certificate you will also need to ensure that this certificate is trusted by the Java installations running WebMaker studio, and the client web browsers.
There are some useful pointers on resolving SSL related issues on this page: https://apereo.github.io/cas/4.0.x/installation/Troubleshooting-Guide.html.
Configuring Authentication
Depending on the authentication approach required, you will need to include different configuration settings. Generally, you will need to include some additional JAR files, and modify the deployerConfigContext.xml and cas.properties files within the WEB-INF directory of the wmtsauth webapp.
By default, the CAS install will be configured with the allowed users defined in the deployerConfigContext.xml file, and an initial casuser/Mellon user defined.
You can find more details on the changes required in the CAS documentation at https://apereo.github.io/cas/4.0.x/installation/Configuring-Authentication-Components.html.
Configuring Database Authentication
As an example, this section illustrates the required changes to configure database authentication.
First, you need to add the 'cas-server-support-jdbc-4.0.0.jar' JAR file, which contains the JDBC related classes to the wmtsauth/WEB-INF/lib directory. You can find this JAR file in the cas-server-4.0.0/modules directory of the release available at https://github.com/apereo/cas/releases/download/v4.0.0/cas-server-4.0.0-release.zip.
As mentioned in the CAS documentation (https://apereo.github.io/cas/4.0.x/installation/Database-Authentication.html), to enable database authentication you first need to define the datasource for the database, and then configure the authentication process to use it.
To set up the datasource, first add the following XML fragment to the deployerConfigContext.xml file, which sets up a pooling data source using c3p0.
<bean id="dataSource"
      class="com.mchange.v2.c3p0.ComboPooledDataSource"
      p:driverClass="${database.driverClass}"
      p:jdbcUrl="${database.url}"
      p:user="${database.user}"
      p:password="${database.password}"
      p:initialPoolSize="${database.pool.minSize}"
      p:minPoolSize="${database.pool.minSize}"
      p:maxPoolSize="${database.pool.maxSize}"
      p:maxIdleTimeExcessConnections="${database.pool.maxIdleTime}"
      p:checkoutTimeout="${database.pool.maxWait}"
      p:acquireIncrement="${database.pool.acquireIncrement}"
      p:acquireRetryAttempts="${database.pool.acquireRetryAttempts}"
      p:acquireRetryDelay="${database.pool.acquireRetryDelay}"
      p:idleConnectionTestPeriod="${database.pool.idleConnectionTestPeriod}"
      p:preferredTestQuery="${database.pool.connectionHealthQuery}" />
You can now define all the required properties in the cas.properties file by adding the following entries
# == Basic database connection pool configuration ==
database.driverClass=org.postgresql.Driver
database.url=jdbc:postgresql://database.example.com/cas?ssl=true
database.user=somebody
database.password=meaningless
database.pool.minSize=6
database.pool.maxSize=18

# Maximum amount of time to wait in ms for a connection to become
# available when the pool is exhausted
database.pool.maxWait=10000

# Amount of time in seconds after which idle connections
# in excess of minimum size are pruned.
database.pool.maxIdleTime=120

# Number of connections to obtain on pool exhaustion condition.
# The maximum pool size is always respected when acquiring
# new connections.
database.pool.acquireIncrement=6

# == Connection testing settings ==

# Period in s at which a health query will be issued on idle
# connections to determine connection liveliness.
database.pool.idleConnectionTestPeriod=30

# Query executed periodically to test health
database.pool.connectionHealthQuery=select 1

# == Database recovery settings ==

# Number of times to retry acquiring a _new_ connection
# when an error is encountered during acquisition.
database.pool.acquireRetryAttempts=5

# Amount of time in ms to wait between successive aquire retry attempts.
database.pool.acquireRetryDelay=2000
You will need to change the basic connection settings at the top to match your database.
In order for this to work correctly, you will also need to add the c3p0 library JAR, and the JDBC driver JAR for your specific database to the wmtsauth/WEB-INF/lib directory.
The final step is to configure CAS to use this datasource. To do this, add the following fragments to the deployerConfigContext.xml file
<bean id="passwordEncoder"
      class="org.jasig.cas.authentication.handler.DefaultPasswordEncoder"
      c:encodingAlgorithm="MD5"
      p:characterEncoding="UTF-8" />
<bean id="primaryAuthenticationHandler"
      class="org.jasig.cas.adaptors.jdbc.QueryDatabaseAuthenticationHandler"
      p:dataSource-ref="dataSource"
      p:passwordEncoder-ref="passwordEncoder"
      p:sql="select password from users where username =?" />
This assumes your database table is called 'users', and has 'username' and 'password' columns. You can adjust this SQL statement as needed to match your scenario. This configuration should be used when the password is stored as an MD5 hash. If this is not the case, you will need to adjust the passwordEncoder setup accordingly.
You also need to ensure you remove the existing primaryAuthenticationHandler bean from this file to prevent a conflict.
In addition, it is also possible to return a displayName attribute which provides the name to show for this user in the studio instead of their login user name. To do this, you need to replace the existing attributeRepository bean definition in the deployerConfigContext.xml with one like below. You can then adjust the SQL query string and column names to match your database setup.
<bean id="attributeRepository" class="org.jasig.services.persondir.support.jdbc.SingleRowJdbcPersonAttributeDao">
    <constructor-arg index="0" ref="dataSource" />
    <constructor-arg index="1" value="SELECT * FROM USERS WHERE {0}" />
    <property name="queryAttributeMapping">
        <map>
            <entry key="username" value="USERNAME" />
        </map>
    </property>
    <property name="resultAttributeMapping">
        <map>
            <entry key="DISPLAYNAME" value="displayName" />
        </map>
    </property>
</bean>
Upgrading an Existing Team Server to Add Authentication
This section explains the steps to upgrade an exiting Team Server installation that does not use authentication to one that uses authentication.
First, you should run the latest Team Server installer, and select the existing Tomcat server. Make sure you leave the Keep existing projects
option checked, and choose Yes when asked whether to use authentication.
Once the installation is complete you will need to configure the required authentication process, as detailed above.
The final step, required if upgrading from no authentication, is to manually update the Team Server database to enable it to determine how the existing Team Server users map to the authentication service users. To do this, access the database as described below, and then add the relevant entries to the USERAUTH table. You will need to add one entry for each existing user. The USERID column should contain the ID (number) for the existing user which you can find from the USER table. The AUTHUSERID value should be the user id or name returned from the CAS authentication process.
This setup only needs to be performed manually for the existing users. Users that connect later will be handled automatically.
Accessing the Team Server Database
The Team Server uses an embedded Apache Derby database to store supporting information. If required, you can access this database to make changes. You should take extra care when making changes to ensure you do not affect the routine operation of the Team Server functionality.
To access the Team Server database you need to first make sure the Tomcat server containing the Team Server has been shut down. You can then use a suitable Apache Derby compatible SQL client (Such as SQuirreL SQL) to connect to the database.
You should use the embedded Driver Class name org.apache.derby.jdbc.EmbeddedDriver and a connection URL of the form jdbc:derby:[team server data location] \teamserver-db. Where [team server data location] is the directory that was selected for the data location during the Team Server installation.
Finally, both the connection username and password should be set to webmaker.
This should allow you to view and modify the database as required.
As this is using the embedded driver, only one process can connect to the database at a time. It is therefore important to disconnect the SQL client before trying to restart the Tomcat server.