Please note: You do not have to install the Team Server to start using WebMaker. You can simply install WebMaker and create and deploy applications, and use the local source control features. You only need to install and configure the Team Server when you want to control projects across different members of your team.
The Team Server can be installed on existing Apache Tomcat 7 installations. If you need to install the Team Server on a different web server, please consult the WebMaker Forum or contact us for further assistance.
The Team Server installer uses Java and requires Administrator credentials to complete installation. If you receive a User Access Control prompt, you should answer Yes
to the questions, to enable Java to execute.
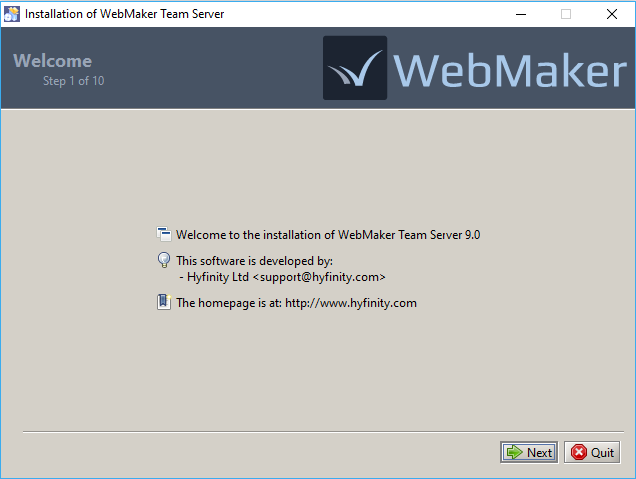
The first screen contains some welcome information. You can simply click Next.
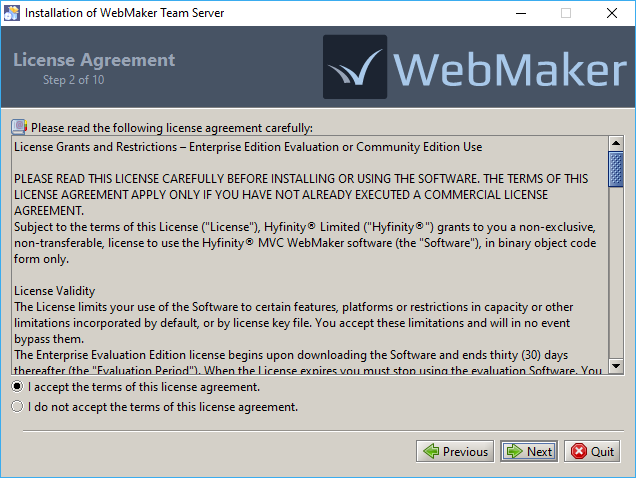
 You should see the License information in the next step. You need to accept the terms to proceed further.
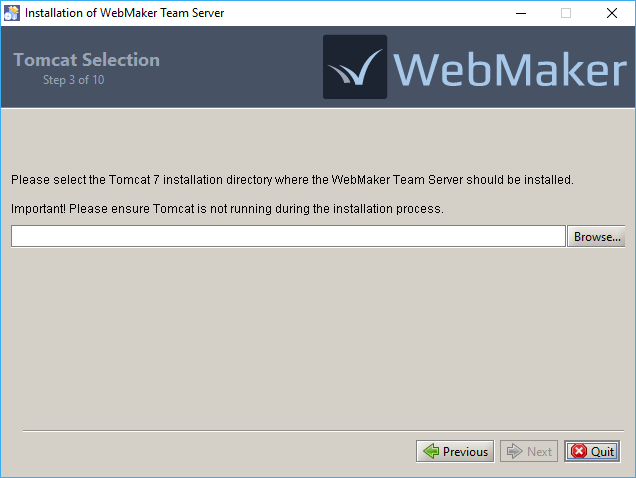
 In the next step, you need to select the location of the Tomcat installation that will contain the Team Server. You should select the root directory of the Tomcat installation, i.e. the directory that contains 'bin', 'conf', 'lib', 'webapps', etc. The Tomcat server should be shutdown before initiating the Team Server installation.
If this Tomcat installation contains an existing Team Server installation you will be given the option to Keep existing projects. If this option is selected, all projects contained in the existing installation will be retained for the new installation. Otherwise, these projects will be lost.
In the next step, you need to select the location of the Tomcat installation that will contain the Team Server. You should select the root directory of the Tomcat installation, i.e. the directory that contains 'bin', 'conf', 'lib', 'webapps', etc. The Tomcat server should be shutdown before initiating the Team Server installation.
If this Tomcat installation contains an existing Team Server installation you will be given the option to Keep existing projects. If this option is selected, all projects contained in the existing installation will be retained for the new installation. Otherwise, these projects will be lost.
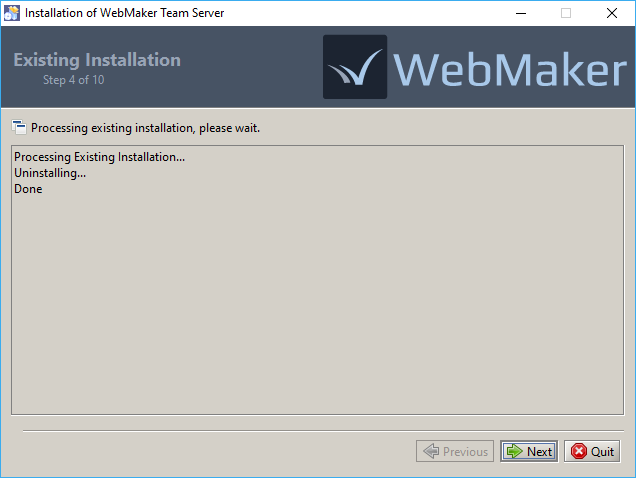
 If your chosen Tomcat location already contains a Team Server installation, you should now see this next screen. The existing installation will be removed and, if requested, existing projects will be backed up.
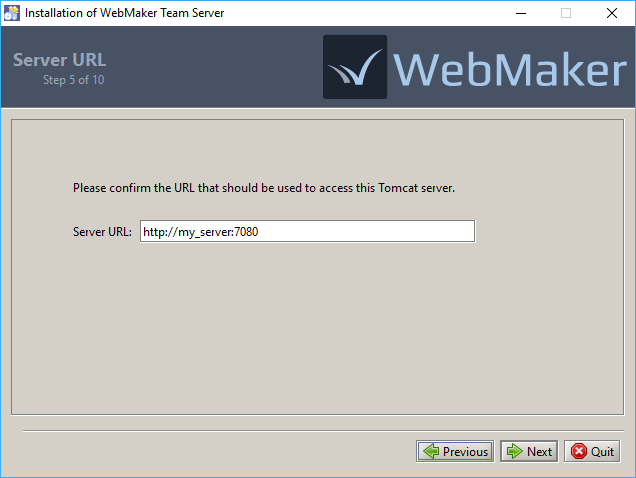
 You now need to confirm the URL that should be used to access the selected Tomcat server. The installer will attempt to determine this value automatically, but you can adjust it as required for your environment.
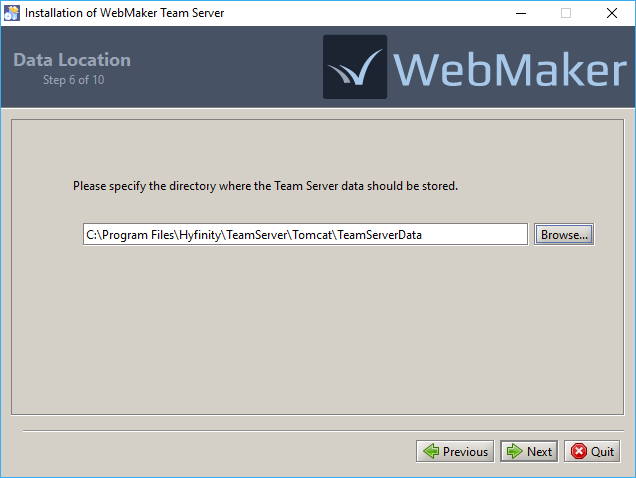
 The next step is to indicate the directory, where the Team Server data should be stored. This will default to a 'TeamServerData' directory being placed within the Tomcat location, but you can adjust this as required.
The specified directory will contain all projects shared on this Team Server, including the project specifications, version history, and user access information. Ideally, this directory should be backed up regularly to prevent possible loss of data.
The next step is to indicate the directory, where the Team Server data should be stored. This will default to a 'TeamServerData' directory being placed within the Tomcat location, but you can adjust this as required.
The specified directory will contain all projects shared on this Team Server, including the project specifications, version history, and user access information. Ideally, this directory should be backed up regularly to prevent possible loss of data.
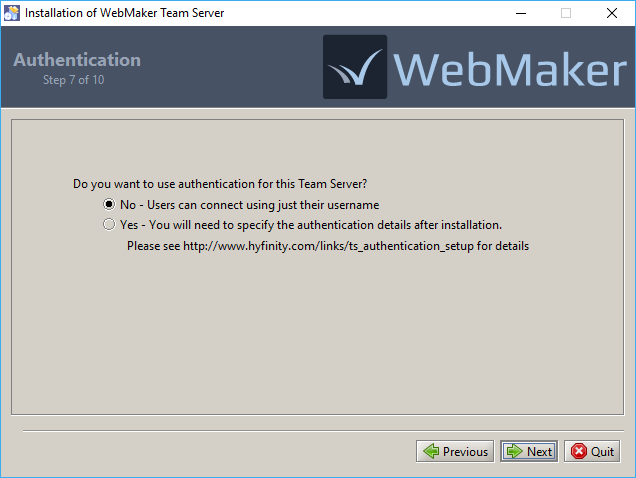
 The final step requires a decision on whether to enable authentication for this Team Server. If you choose not to (the default) then users can connect to the Team Server by just specifying their username. Alternatively, you can enable authentication, which requires some manual configuration after installation. Please see the next section for more details.
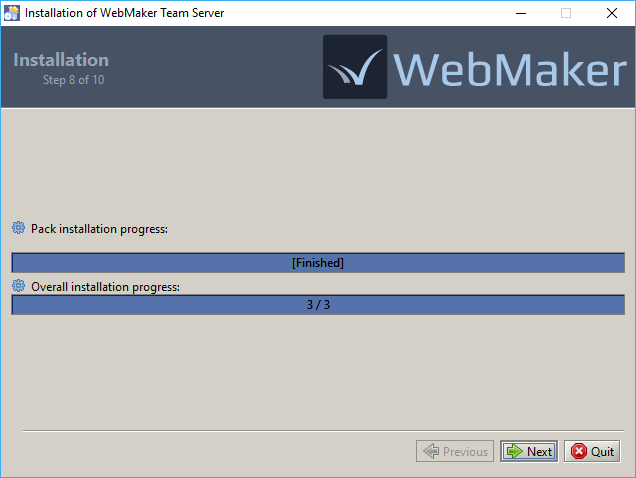
 At this point the files for the Team Server will be installed.
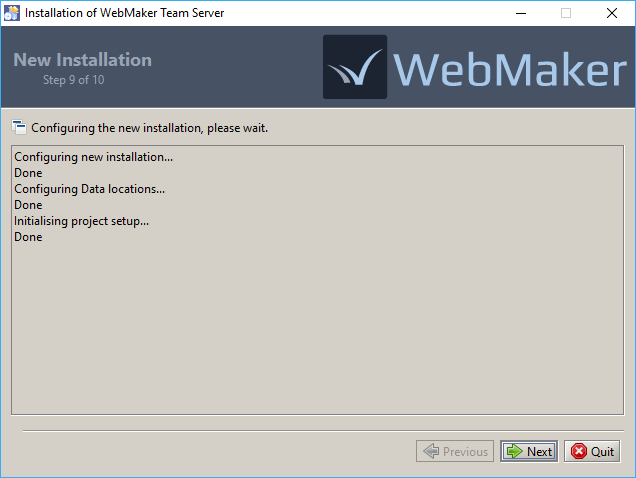
 The new installation will now be configured and, if you chose to keep the projects from an existing installation, they will now be imported into the new installation.
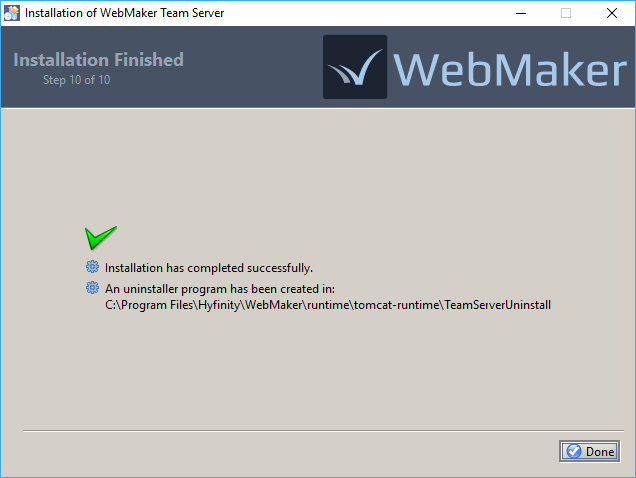
 The final screen should confirm the successful installation, and provide the location of an uninstaller that can be used to remove the Team Server at a later date.
The installation is now complete, and you should be able to startup the Tomcat Server and connect to the Team Server from the WebMaker Studio.
The final screen should confirm the successful installation, and provide the location of an uninstaller that can be used to remove the Team Server at a later date.
The installation is now complete, and you should be able to startup the Tomcat Server and connect to the Team Server from the WebMaker Studio.